
The Expert Workflow: From Service to Live Class
End-to-end: how to add Services, place Single and Bundle slots on the calendar, react to bookings, and join the live classroom on Tutora.
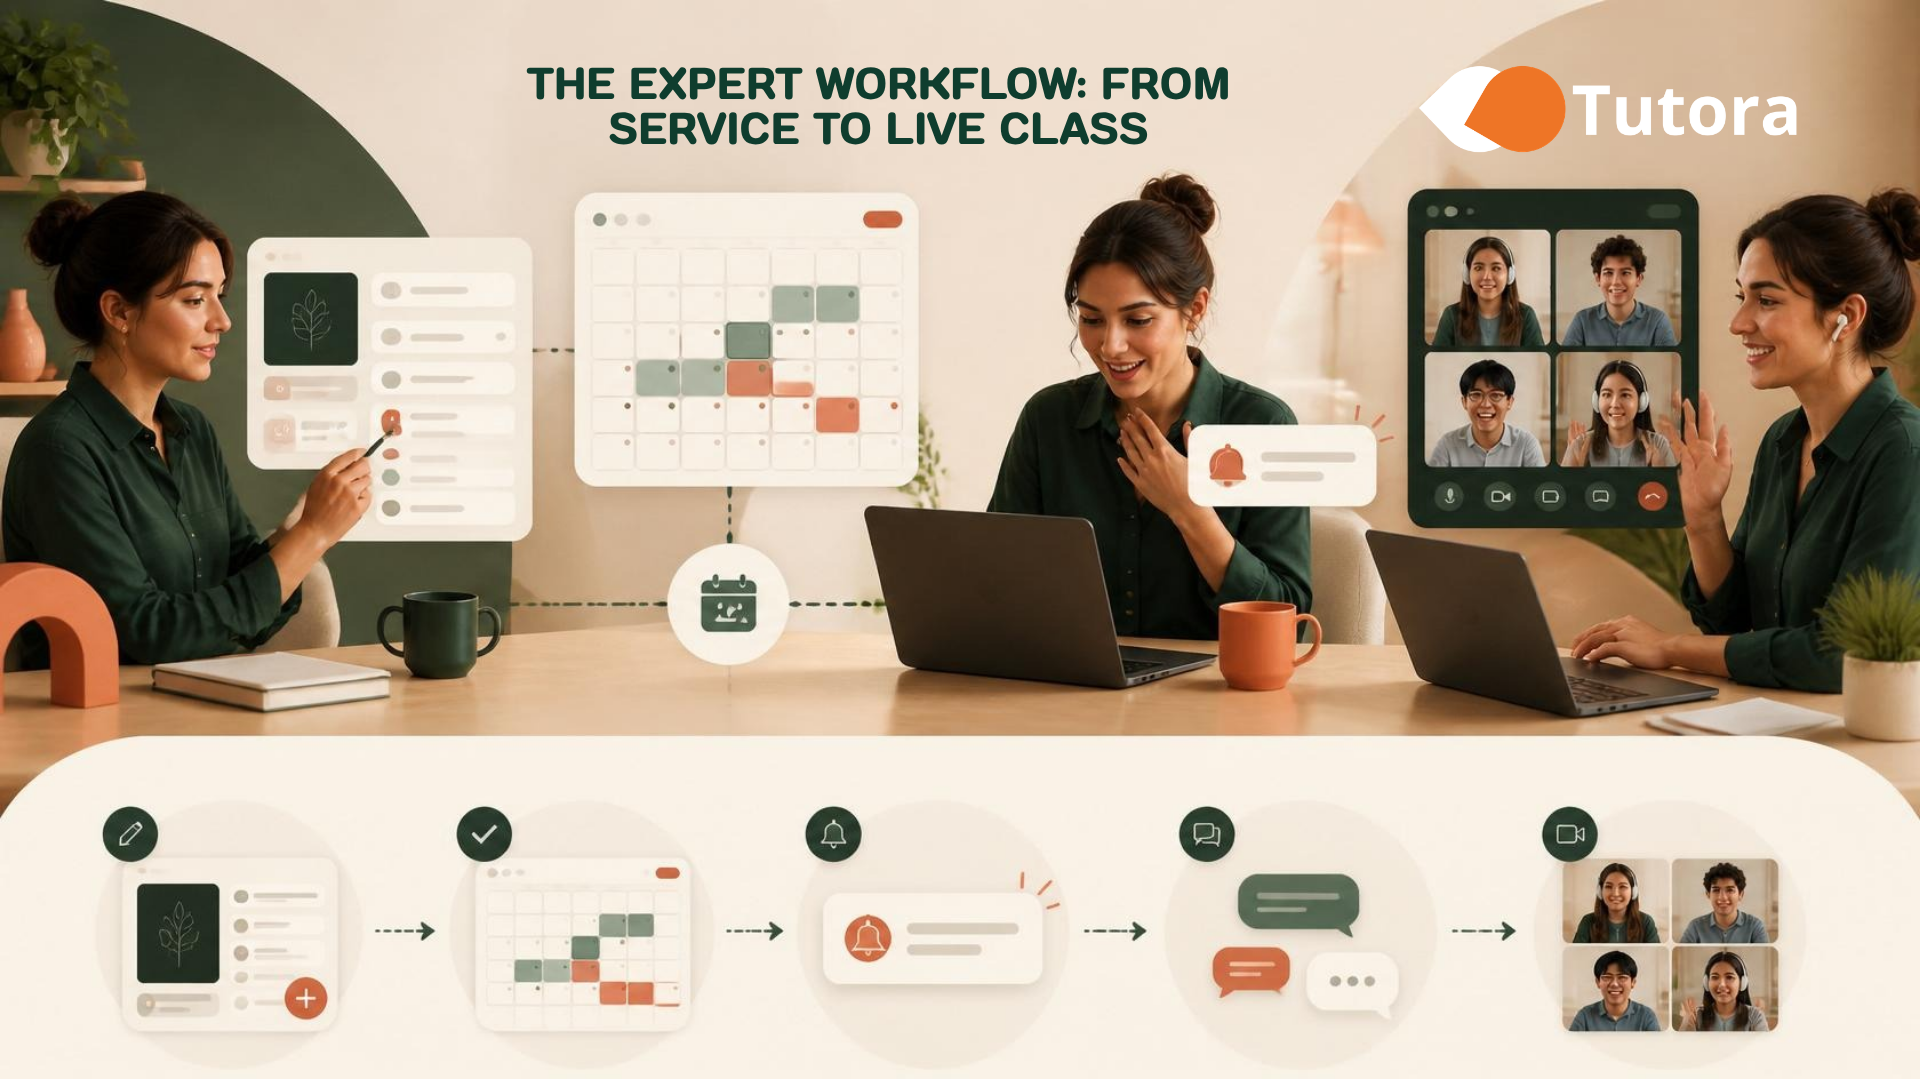
This guide outlines the daily workflow of a Tutora expert. The process is broken down into five main stages: Services → Time Slots → Booking → Reaction → Joining.
Stage 1: Creating a Service
A Service is a purchasable package you offer: it has a title, format, duration, and price. Until you have at least one active Service, students cannot book an appointment with you.
Go to the Expert Dashboard, then select the Services menu.
Click the New Service button.
Fill in the following details:
Title: This is what the student sees and buys (e.g., "60-minute conversational English").
Format: 1:1, Group, or Package (series).
Mode: Online, In-person, or Both.
Duration: 30 / 45 / 60 / 90 or 120 minutes (or customizable).
Price: Entered in Forints (HUF).
Description: Briefly explain exactly what the client can expect during the session.
(Optional): Attach up to 5 Google Drive files! The first file in the list is automatically shared with the client as soon as they enter the online learning space.
Tip: When starting out, it's highly recommended to create 2–3 different Services (for example, a free or discounted trial lesson, a standard 1:1 session, and a discounted package). This allows you to cover the most common student needs right from day one.
Stage 2: Adding Time Slots to the Calendar
A time slot is a bookable time block in your calendar that is always tied to a specific Service.
Single time slot: Open the Calendar, click on an empty block, select the desired Service, and save it. The whole process takes about 5 seconds.
Series (recurring time slot): When creating the time slot, select the Series tab. Enter the days of the week, the starting time, and how many weeks ahead the system should generate the slots. (The system will automatically skip any existing, conflicting bookings).
Note: Past time slots (or those older than 1 hour) cannot be created. Additionally, time slots starting within the next 1 hour can only be booked, not newly created. This rule protects both parties.
Stage 3: The Student Books
The student selects a Service on your public profile, chooses a suitable time slot, and then pays for the lesson. From your end, you will see the following:
You receive an in-app notification (on the bell icon).
You receive an email in the student's language.
A new row appears in the Bookings menu with a
confirmedorpending_paymentstatus.
Stage 4: Reacting to the Booking
The first few hours after the booking are the best time to build trust and establish contact:
Send a welcome message in the chat and ask about the student's goals!
Coordinate preparations (what textbook or program will be needed for the lesson).
Write a private note for yourself on the booking (only you can see this, it's great for preparation).
If you need to reschedule: You can do this directly from the booking's details page. The most important rules are:
From the expert's side, a time slot can be rescheduled a maximum of 2 times per booking.
The student has 24 hours to respond to the reschedule request.
The reschedule function automatically locks if the lesson starts within 15 minutes, or if either of you has already entered the room. (Details: Reschedule Policy)
Stage 5: Joining the Live Session
The Join button becomes active exactly 10 minutes before the lesson starts. Before that, the room is closed – this is intentional so that neither party waits unnecessarily in an empty room, and the time spent is measured with pinpoint accuracy.
Quick technical check (recommended once a week):
Camera and microphone are enabled in your browser.
Stable, wired internet or a strong Wi-Fi connection is available.
The environment is quiet, and the background is neutral (it's worth selecting background blur or a virtual background before entering).
What features does the online learning space have? Chat, screen sharing, a "raise hand" button, file sharing (Google Drive integration), and background blur are all available.
Important: A user can only be present in the room with one device at a time. If you try to join from a second device (e.g., a phone), the system will automatically log you out of the first one.
At the end of the lesson, simply click the End Session button. For paid bookings, the payout is processed automatically.
That is the entire process! Once you've successfully gone through it one time, the rest will become second nature.
Enjoyed this article? Share it.
More from Tutora
Stripe Connect Account Setup for Experts
How to connect Stripe for payouts on Tutora — required documents, supported countries and currencies, and the Wise/Revolut workaround for non-EEA Experts.

Tutor Pricing Guide: Set Your Rates
Stop undercharging! Learn how to price your private lessons, offer packages, and justify premium rates with a professional online presence.
Stripe FAQ
Since a few questions have come up regarding the Stripe payment and billing system, we've put together the most important information for you in a short FAQ.